High-altitude tours 1×1 10 safety tips for your next high-altitude tour

2022_alixvonmelle_hochtouren1x1_dsc00132_new

The alarm clock goes off a little earlier than it does on a normal workday. The cold is numbing, even though it is the height of summer. Still semi-comatose from the night’s slumber, you and your high-altitude touring companions slip on your glacier gear and force your sleep-stiffened limbs to drag you up steep paths and across loose rocks. You are enveloped in a blanket of freezing cold and pitch-black darkness. You can see no farther than the weak ray of light being cast by the lamp you have clamped to your head. But getting up so early was worth it. Wending your way by foot before the crack of dawn, not a sound to be heard. You advance forward under the moon and Milky Way, the silhouettes of the jet-black spikes of nearby mountains jutting above the horizon as the sun creeps upwards. Your eyes take in the clear light and your lungs breathe in the clear air. The sky and the clouds floating by appear in all colours and moods. Striding across the ice stream of the glacier and a lily-white firn ridge – you experience the truly priceless moments of life!

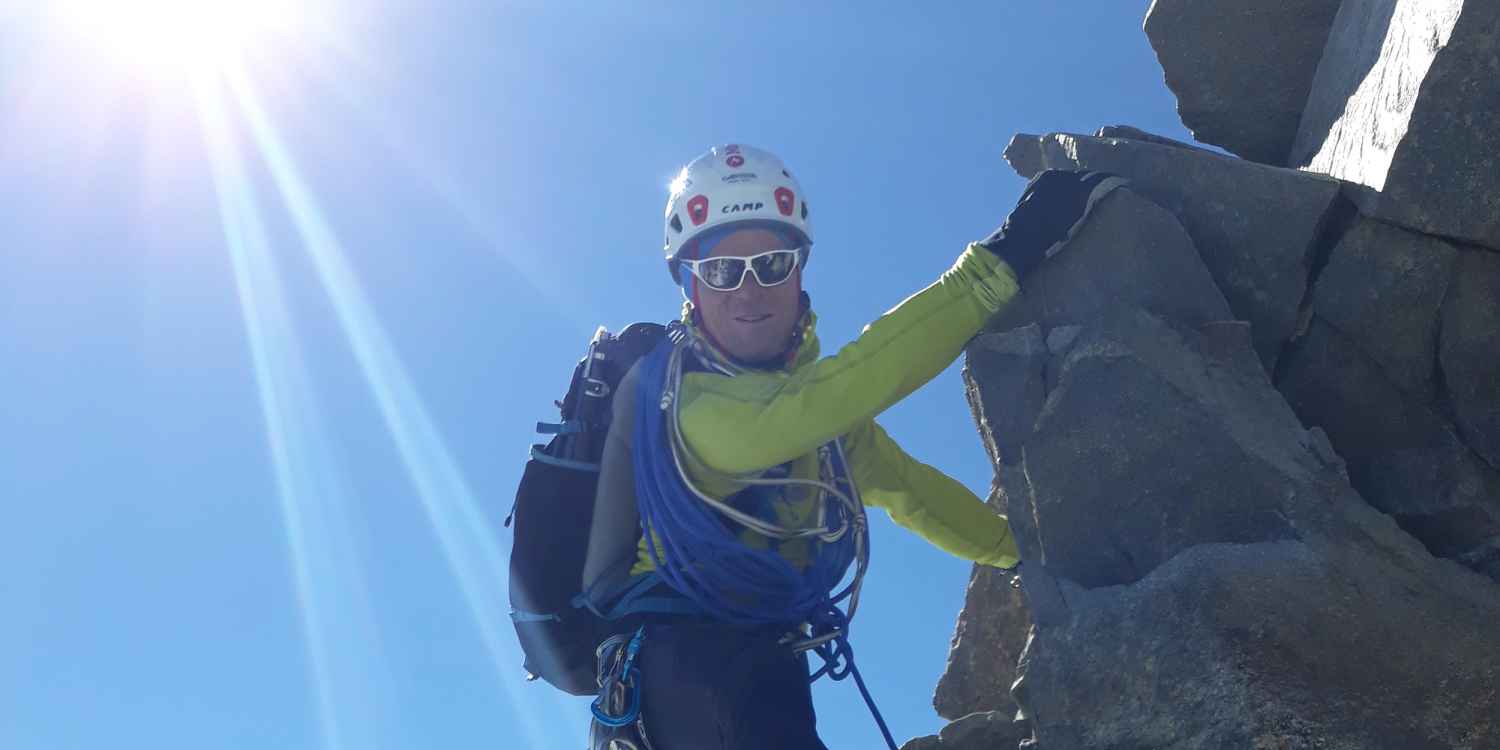
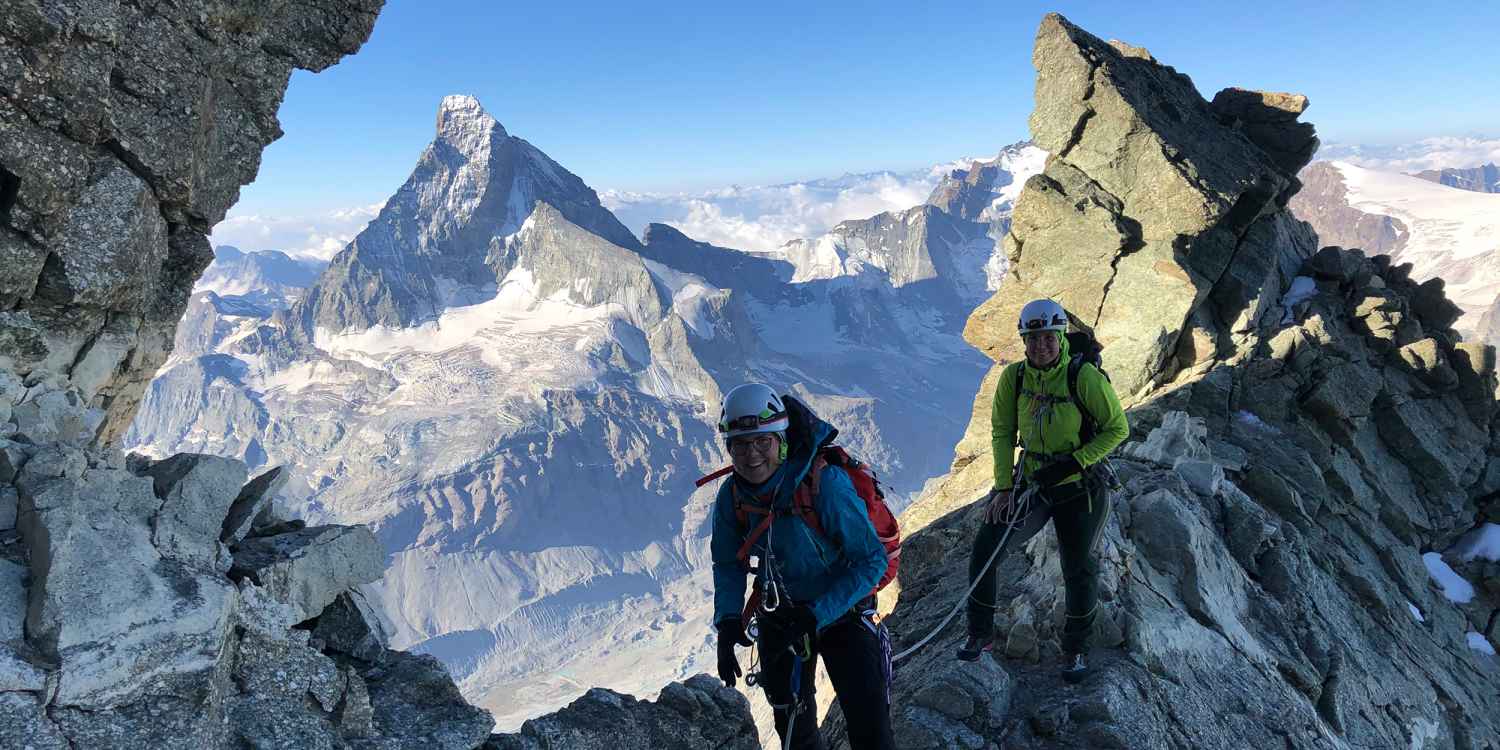
There are some very good reasons why high-altitude tours are considered to be the ultimate in moun­tain­eering. The name actually says it all: high-altitude tours, adventures undertaken at great heights. “Classic high-altitude tours” involve things like glacier climbs and summit adventures done on snow, ice and mixed terrain in high-mountain ranges. During a high-altitude tour, you can expect to cross glaciers, traverse icy slopes and firn ridges, as well as walk across rock-covered passages.

But such adventures come with their very own set of risks. To help you to avoid the dangers you will face along the way, the German Alpine Club has compiled a list of 10 recom­mend­ations that Alix von Melle, a member of the LOWA PRO Team, explores in-depth here. You can learn the practical funda­mentals in moun­tain­eering and ice courses. And you can gain the experience you need simply by putting one foot in front of the other one.

Image photo with the ALPINE ICE GTX,

Equipment, weather and orientation Use the right gear for local conditions

Check local conditions

Receding glaciers, melting snow and ice cover and temper­atures approaching zero degree Celsius caused by climate change will increase the risk of rockfalls and falls into crevasses. This is why you should set off at the right time and constantly monitor the weather and terrain – and change your route if necessary.

Continuous orientation

Pathless terrain, hikes across glaciers and severely restricted visibility can make it difficult for you to remain oriented. This is why you must be skilled in the use of maps, alti­meters, compasses and GPS. If you begin to doubt yourself, simply turn around.

Func­tional gear

Adapt your gear to your destination and keep your rucksack light! A rope and a helmet will protect you if you fall or encounter a rockfall. Crampons and a pickaxe will provide you with support. Don’t forget protection from the sun – both sunscreen and glacier goggles. For emer­gencies: first-aid kit, bivouac sack, mobile telephone and headlamp. We have compiled a few extra tips for your packing list as well.

  • Waterproof rucksack
    Preferably use a 35-litre to 45-litre rucksack.

  • Tele­scopic poles, helmet and moun­tain­eering boots
    Make sure that your moun­tain­eering boots are crampon-compatible. Definitely use crampons with anti-balling plates.

  • Sun protection
    Definitely pack a sunscreen with a high sun protection factor, a pair of glacier goggles and a sun hat.

  • Food and beverages
    Take along a one-litre to three-litre drinking bottle filled with water. Also include energy bars and a lunch box.

  • Classic equipment
    Take along a headlamp, hipbelt and an impregnated rope.

  • Climbing gear
    You will naturally need various cara­biners, slings and clamps. You should preferably take along at least three Safelock HMS locking cara­biners. You should also have two normal cara­biners, a 1.2-metre tape sling and a 0.6-metre tape sling. On top of that, you will need a 6-millimetre accessory cord (1×1m+ 2×2,4m) or, as an alternative, a rope clamp (Tibloc, Mini­Traxion or similar brands) for rescues from crevasses.

  • Ice gear
    You should have an ice pick, ice screws (depending on the tour) as well as quickdraws and mobile securing equipment.

  • Clothing
    Preferably pack func­tional underwear and a second shirt, func­tional socks, a sweater or a fleece jacket, a pair of softshell tour pants, a waterproof hardshell jacket, an insulated jacket (Primaloft or down), light­weight and warm finger gloves, gaiters, a cap, a headband and a scarf.

  • Emergency equipment
    Make sure that your mobile phone is fully charged and that you have installed all emergency numbers or an emergency app. You should also have a bivouac sack (for two climbers each) as well as a first-aid kit that includes a rescue blanket.

  • Overnight utensils
    If you are planning to spend the night, you should take a hut liner, toiletries and a change of clothes.

  • Miscel­laneous
    You will also need cash, an EC card, your Alpine Club membership card, a regional guidebook or a tour description, a map, a compass, an altimeter and a GPS device.

2022_alixvonmelle_hochtouren1x1_dsc00122_new

Healthy and fit in the mountains Keep your fitness and altitude accli­mat­isation in mind

High-altitude tours venture into lofty heights and require an extremely large amount of endurance! The intense stress exper­ienced by your heart, cardi­ovascular system, muscles and joints requires you to be in good shape and real­ist­ically assess your own capab­ilities. Avoid putting yourself under time pressure and move along at a pace that does not over­extend anyone.

Pay attention to altitude accli­mat­isation

Once you reach an elevation of 2,500 meters, your body will need some time to adjust to its new environs. The keys are to ascend slowly and to moderately increase the altitude at which you sleep. The best approach is to sleep at an elevation that is several meters below the maximum height you reached each day. Take your time and be sure to drink plenty of water. Should you begin to experience the classic symptoms of altitude sickness – nausea, headaches and dizziness – you should reverse course and descend the mountain.

2022_alixvonmelle_hochtouren1x1_img_5011

Never make a high-altitude tour by yourself Meticulous tour planning

Maps, mountain guide information, the Internet and experts can provide you with an idea about the length, difference in elevation, difficulty and current conditions of a tour you are planning. You should pay partic­ularly close attention to weather reports. Thun­der­storms, snow, wind and cold can signi­ficantly raise the accident risk. To prevent yourself from running into a dead end, you should also plan alternate routes that you can use if you encounter problems. If you are still fairly inex­per­ienced, your group should also include a mountain guide. Obtain more information about national mountain rescue emergency numbers (European emergency number 112).

Bildauswahl Sarntaler Hufeisen Alix von Melle

“As a rule, solo trips are a bad idea. Your ability, experience, motive and group size should be the factors you use when selecting a tour. The ideal group is made up of two to six indi­viduals. A larger number creates a risk factor. You should make sure that you inform someone whom you trust about your route, destination and return plans.”

Alix von Melle | LOWA PRO Team

Image photo with the ALPINE ICE GTX,

Safety first! Correctly assess situ­ations.

Roped glacier travel, secure yourself on precipitous terrain

Ridges, glaciers, firn flanks and icy slopes require a high level of expertise in securing and rescue tech­niques. If someone falls into a crevasse, other members of the rope team will act as a human anchor to break the fall. You must be partic­ularly careful on steep terrain because all members of your rope team could be yanked downwards if a team member falls.

Good grip is the key to increased safety on a high-altitude tour

Falls resulting from slipping or tripping are the most frequently causes of accidents! Please remember that a fast pace or weariness can signi­ficantly impair your grip and concen­tration. Uncer­tainty creates another potential cause of accidents. You can maintain your stamina and concen­tration for long periods of time if you drink enough liquids, have sufficient energy and take an adequate number of breaks. The safe way to use crampons and pickaxes requires intense training.

Bildauswahl Sarntaler Hufeisen Alix von Melle

“As you walk across high-mountain ranges, you will enjoy total freedom and experience a world unlike anything you have seen before. You can savour your freedom to its fullest, whilst always respecting the highly sensitive envir­onment of high-mountain ranges. Take all your rubbish with you. Avoid making unne­cessary noise. Leave plants alone, and observe the rules of nature preserves. You will also run into wild animals on your high-altitude tour. Do not scare them or disturb their habitat.”

Alix von Melle | LOWA PRO Team

2022_alixvonmelle_hochtouren1x1_2019-06-29_055938

Tour tips for beginners Step by step forwards

Before we finish, we would like to share a few tour tips for beginners with you:

Similaun (3,606 m)

The Similaun is one of the most popular high-altitude tours in the Ötztal Alps. You will need some glacier experience before you take it on. But, if conditions are right, you will not encounter any exposed sections or climbing passages along the way.

Großve­nediger (3.657 m)

This is a tech­nically easy high-altitude mountain tour across a crevasse-filled glacier on the highest mountain in the Venediger Group. Depending on conditions, however, the summit ridge that runs a few metres from the secondary summit to the summit cross can be narrow and exposed.

Strahlhorn (4,190 m)

The Strahlhorn is one of the easier four-thou­sanders in Valais. The Britannia hut is optimally located as a support station and can be reached via Saas Fee.